Gardening just got even easier… and here’s how!

Spring is in the air which means summer is just around the corner! To welcome in the warm sunshine, why not bring the beauty of the outdoors inside with some gardening. A great and easy way to do this is by transforming your window sill into a miniature garden with some plants and herbs on display – perfect for when space is limited, plus the greenery will be grateful for the direct sunlight too.
But before you go buying anything fancy, we have a few really great (and really stunning) DIY plant pots for you to make from everyday household items.
Vases
You’re guaranteed to have a vase lying around, perhaps in the cupboard under the sink, or in a chest somewhere passed down by gran. Instead of waiting to fill it with a bouquet of flowers, turn it into an everyday feature by planting some herbs in them.
- If your vase is quite tall, fill the bottom with a layer of pebbles before you plant your herbs, it will help with drainage too.
- Ready to get your arts and crafts on? Wrap a heavy-stock paper around the vase and secure it with twine.
- Write on the paper or add a label to name the herb.
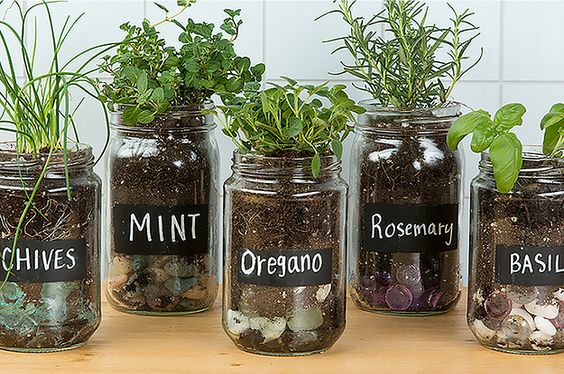
Jam Jars
Instead of throwing your jam jar in the recycling, clean out the sticky sweetness to make a trendy plant pot for summer.
- Add a few rocks or pebbles to the bottom of the jar to help with drainage.
- Fill your jar with soil to about halfway.
- Plant either a grown plant or seedlings into the soil.
- Optional: Add stickers to the jar with the name of which herb or plant it is.
Tin Cans
Another pantry keepsake ideal for a DIY plant pot is a food tin can. Gobble down some baked beans, peel off the label and wash up the tin – remember to remove the top carefully without getting a cut!
As you will be using your tin can plant pot inside, there’s no risk of rust or the need to drill holes as you will be managing the watering.
- Put a layer of pebbles in the can to help with the water drainage.
- Add some soil before planting your grown herbs or seedlings.
- Optional: Write the name of the herb on a piece of cardboard or wood veneer and tie it onto the can with some twine or string.
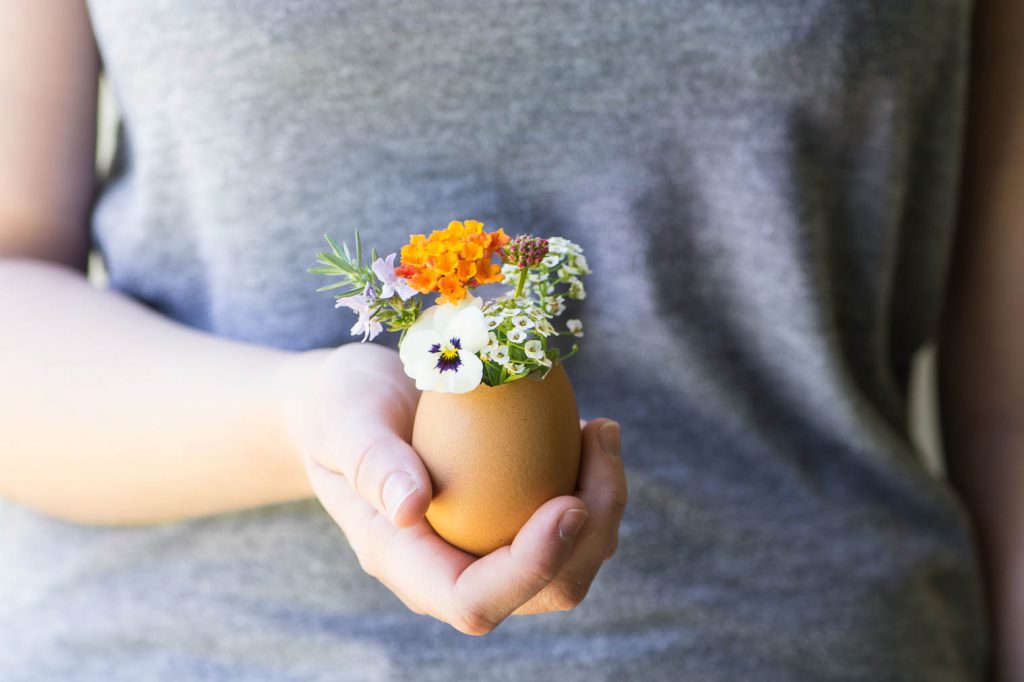
Eggshells
This one is a real arts and crafts project that will surely keep your kids entertained while making it. After you’ve scrambled the eggs and baked the cake, don’t toss your eggshells in the bin – it’s time to get potting.
- If you haven’t already cracked your eggs, here’s what to do. Using a butter knife, gently but firmly tap the small end of a raw egg until it cracks, then carefully remove the top portion.
- Empty the egg, rinse and dry it.
- Poke a small hole, with a sharp pin, at the bottom of the eggshell for drainage.
- Fill with potting soil and plant a mini succulent or flower, or take a small cutting from a larger plant.
- Display your eggshell plant pots in a cardboard egg carton or place in an egg cup or teacup.
Once you’re done, reward yourself after a day of DIY indoor gardening with some entertainment on the slots, in the bingo room, or a bit of both with Slingo at MeccaBingo.com. We have plenty of fun and thrilling online slots and games for you to check out and play.
Share your DIY plant pot photos with us!