Step-by-Step how to create an Easter Egg Tree

3 Easy Steps to Make an Easter Egg Tree
This year don’t wait until Christmas to get into the spirit of holiday decoration – start with Easter! There are loads of ways for you and your family to add some flair to your home to celebrate, but a really fun and beautiful way to decorate your space is by making your very own Easter Egg Tree.
You heard us right, an Easter Egg Tree! It seems Christmas is not the only tree-decorating season. Want to know more? Keep reading to discover just what we’re on about.
The History of Easter Egg Trees
Easter Egg Trees are not the latest trend to come out of Pinterest, it’s actually a tradition that dates back centuries in Germany known as “Osterbaum”. Eggs are hung on branches of outdoor trees and bushes, as well as on cut branches inside the house. More recently, a German couple, Christa and Volker Kraft, became famous for the trees they decorated. In 2015, before retiring their tradition, the couple included 10,000 uniquely dyed Easter eggs on their tree.
Another country with fine Easter Egg Tree origins is Sweden, who celebrate with a form of decoration known as påskris which includes feathers and eggs used as ornaments on birch branches.
In the UK nowadays, Easter Egg Trees are reaching new levels of popularity. Firstly, DIY trees are a fun way to get the family together with some arts and crafts (which has been a life saver to curb the boredom during lockdown). Secondly, it’s a great way to bring some colour into your home as you welcome spring in as well.
So, let’s show you how to make one!
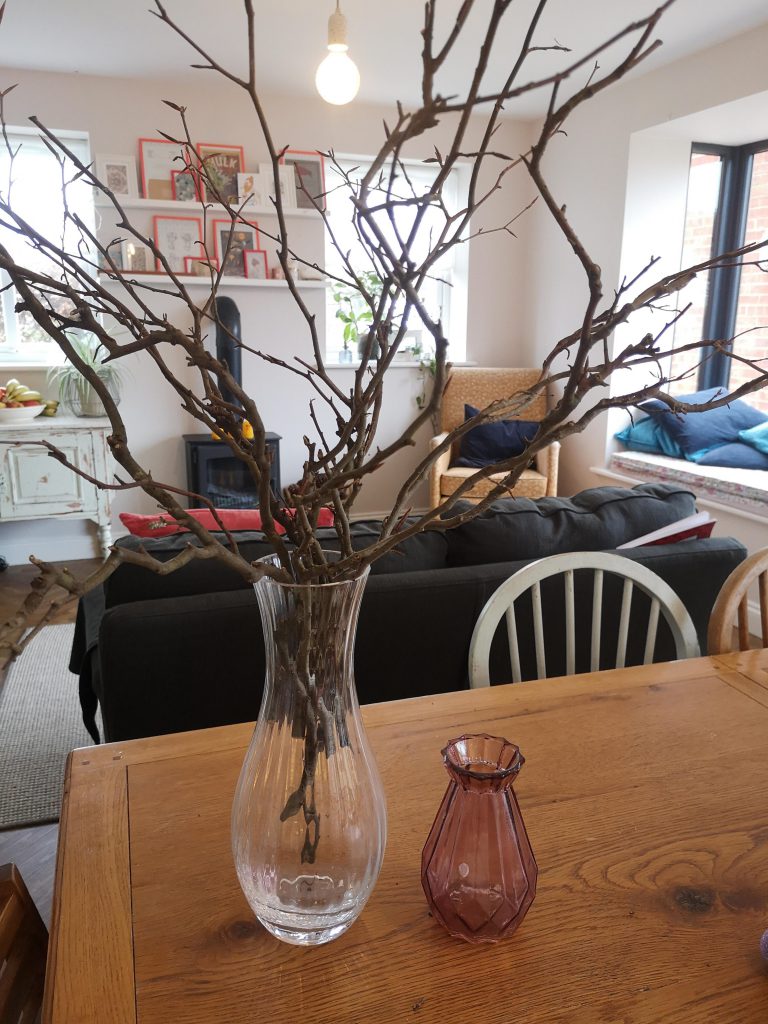
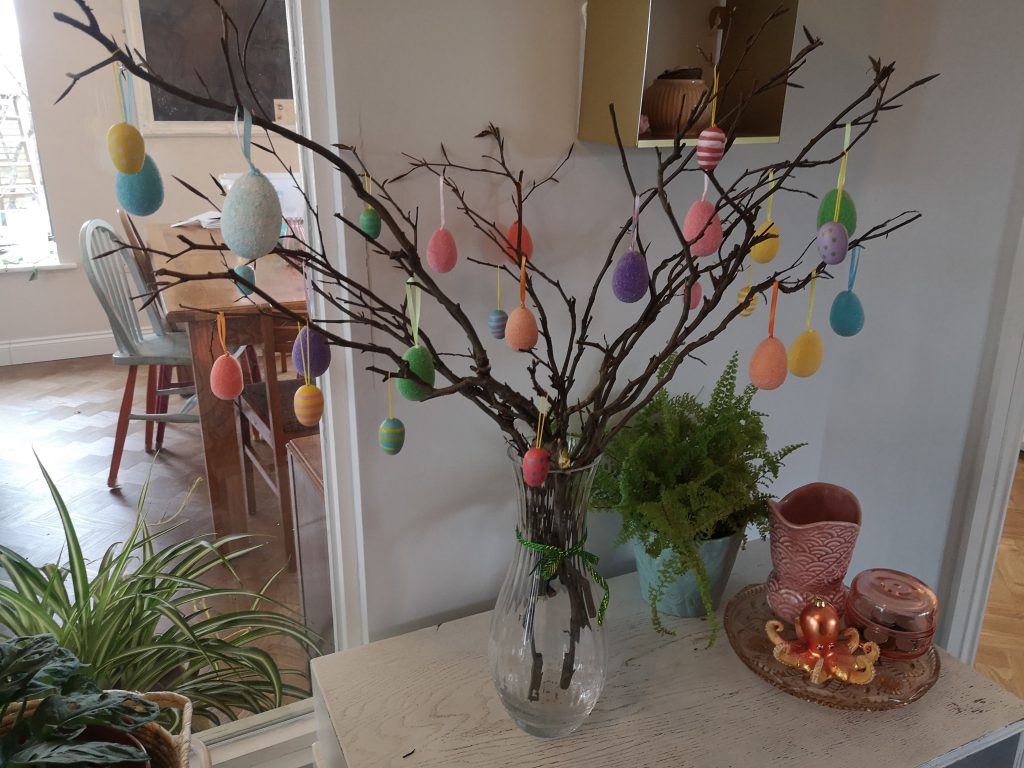
Step 1: Find Your Base
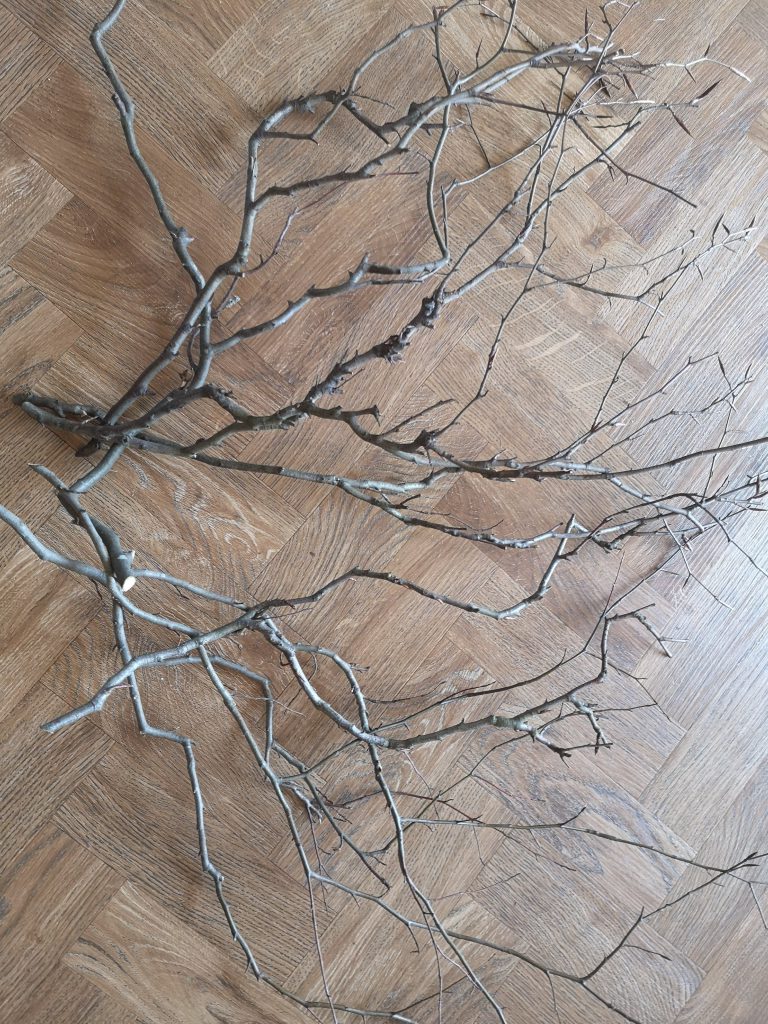
Easter Egg Trees aren’t quite as big and extravagant as Christmas trees, all you need is some well-cut branches from your garden or the park. Once you’ve foraged for branches of a sturdy nature, grab a vase (preferably a nice bright one) or jar and place your branches in there. For extra stability, you can add some water or pebbles to the vase or jar.
Step 2: Decorate Your Easter Eggs
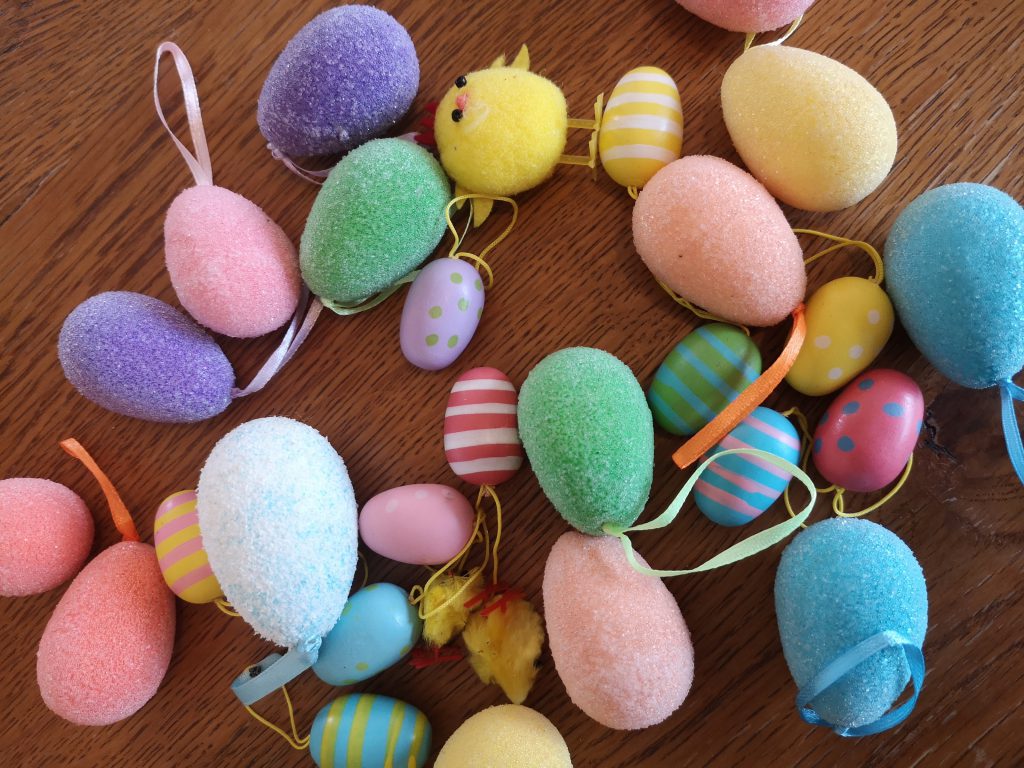
It’s now time to get creative and get your hands dirty. There are different ways you can go about making your egg decorations, which will probably depend on the size and strength of your branches.
Your first option, if your branches are quite narrow and thin, is to use paper or cardboard. You can either free hand draw your eggs, or find a picture or template online and print some eggs out. Then grab the crayons, paint, paint brush, glitter and more to start decorating your Easter eggs.
Your second option, if your branches can hold a bit of weight, is to use real eggs. You can either boil the eggs or remove the yolk. To remove the yolk, carefully poke a hole at the top and bottom of the egg and blow the yolk out into a bowl. Gently wash the egg in a warm water and vinegar combination, rinse and blow out the water, then leave it to dry. Once your egg is boiled or has dried, you can start decorating with paint, dye and stickers.
To avoid loads of mess during this exciting part of the process, tape down some plastic to your workstation and make sure the whole family is not in their Sunday best yet!
Step 3: Hang Your Easter Eggs on the Tree
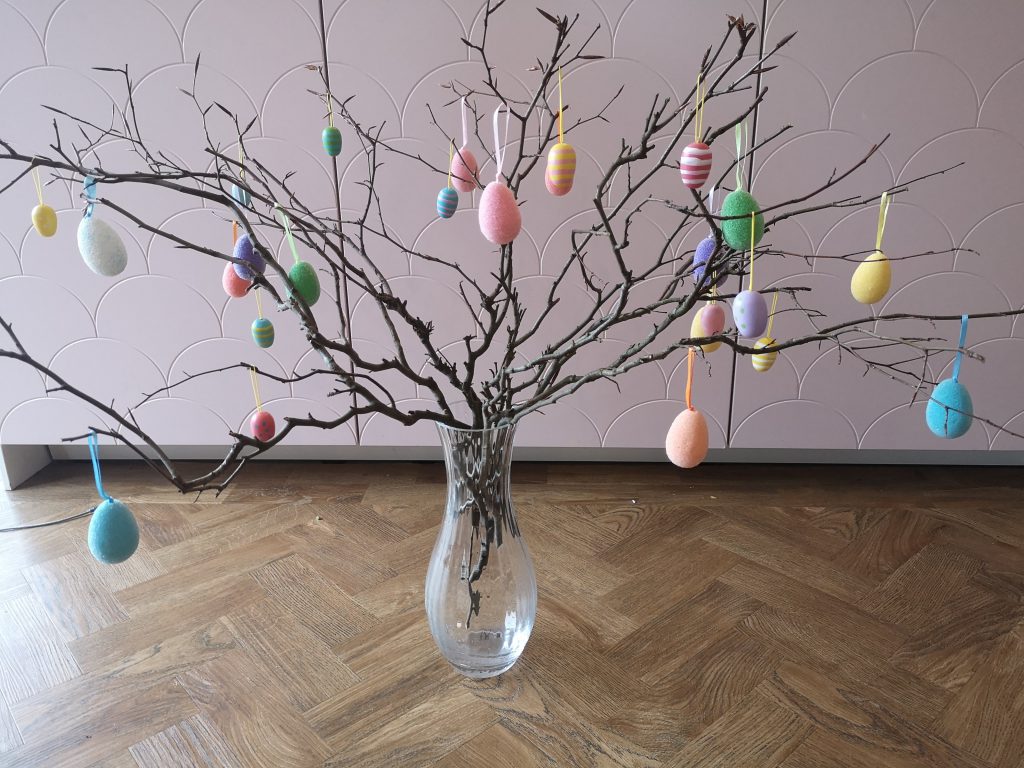
When your decorated eggs have dried, you can now start hanging them up on your tree. For the paper and cardboard eggs, simply cut or punch a hole on the top to hang them up. You can use string, yarn or ribbon.
For the real eggs, you will need to use a hot glue gun to firmly attach your hanging loop. Ribbon is the preferred choice with these eggs as the material is a lot stronger than yarn or string.
There you have it, an Easter Egg Tree in 3 easy and simple steps!
Share your Easter Egg Tree photos with us
Showcase your tree on the dinner table, mantle, or on a shelf, and add some colourfully-wrapped chocolate eggs and bunny ears around it for an extra bit of pizzazz.
After you’ve headed to the store to grab some arts and crafts, and rounded up the family to get decorating, you can enjoy our entertaining selection of online slots and games as well as our exciting bingo rooms at MeccaBingo.com while you wait for the paint to dry.