Arts and Crafts: Set the scene with homemade outdoor lighting

Next up in our Arts and Craft series, we’ll be giving top tips on how to get the best out of your outdoor lighting. Want to know how to set the mood on a summer’s evening, or spread some extra light during those late-night BBQs that go on to the early hours? These super solutions and budget-friendly findings could help you give your garden a sparkle in time for summer. Check these out…
What can I make?
There’s plenty of amazing crafty lighting solutions out there. Our list will cover a few of these fabulous options, with varying degrees of skill and complexity. Those of you who are handier on the tools, skim down towards the end for some real homemade landscaping light fixtures. But, don’t worry – we’ll start with the basics! Feeling crafty? Let’s go.
Floating candle jar Lights: A Step-By-Step Guide
Create your own beautiful botanist-inspired jar lanterns.
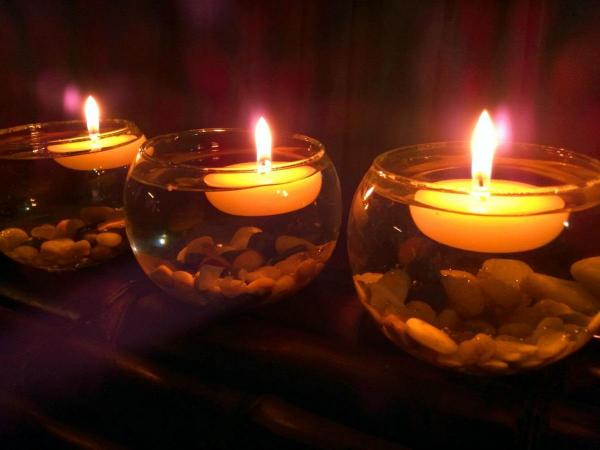
Ingredients: Tealights, empty glass jars, water and some foliage or petals.
- Grab your Mason jars and ensure they’re clean and empty and remove any outer labels.
- Add some colourful foliage – these could be leaves, petals or even some stones or pebbles that will sit at the base of the jar.
- Next up, fill the jar with water to just below the rim. Give yourself an inch or so, so it doesn’t spill over.
- All that’s left to do is place your tealight candle in and light it. Basic AND beautiful!
A few of these simple jars could brighten a terrace space or make for a stunning summer centrepiece for a table full of food and surrounded by family. Easy enough, right?
DIY Colourful Decoupage Lanterns: A Step-By-Step Guide
Add colour AND light to your outdoor areas!
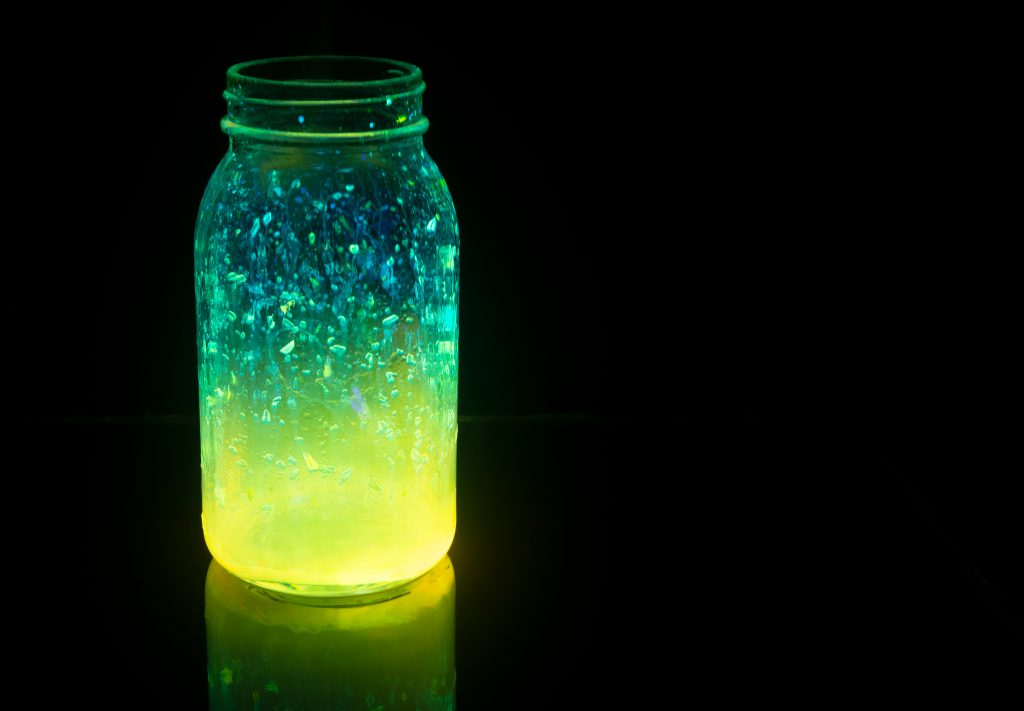
Ingredients: Tealights or battery-powered LEDs, empty glass jars, craft glue and food colouring.
- Same as above – make sure your Mason jars are clean, empty and ready to go.
- To get a creative coloured tint: add 9 drops of food colouring and 1 teaspoon water to every tablespoon of craft glue.
- Mix thoroughly and coat the inside of each jar. You can simply paint it on with a brush.
- Then you’ll need to bake your jars in the oven at around 95 degrees Celsius (or 200 Fahrenheit) for one hour.
- Pull them out after an hour (carefully) and let them cool off. Once cool, they’re ready for a short candle, tealight or even some battery-powered LEDs and you’re done!
These colourful DIY decoupage lanterns are guaranteed to bring some beautiful colours and light to your garden, balcony or patio areas. Fun to make, cost effective and lovely to look at – a winner in our books!
Upcycled Tin Lanterns: A Step-By-Step Guide

Ingredients: Tealights or short candles, empty tins, plus a hammer and nail
- Grab some old, empty tin cans from the kitchen – It’s time to upcycle, not recycle!
- Wash them in warm water to help you peel off any labels and old glue.
- Then fill your cans with water and place them in the freezer. Leave them in until they’re totally solid.
- Remove your cans from the freezer (we know it sounds weird) and place them on a hard, flat surface.
- Then, take your hammer and nail and punch holes though the outside of the can to create patterns, shapes or letters. Top tip – you can place your can on top of a wet tea towel to stop it moving around.
- Wait for any of the remaining ice to melt and you’re all set. Just pop in a candle, wait for the sun to set and enjoy a disco ball-like aura across your garden!
We LOVE a good upcycling project, so this is a clear Mecca favourite. What do you think? Let us know on Facebook or Instagram!
DIY String Light Hangings: A Step-By-Step Guide
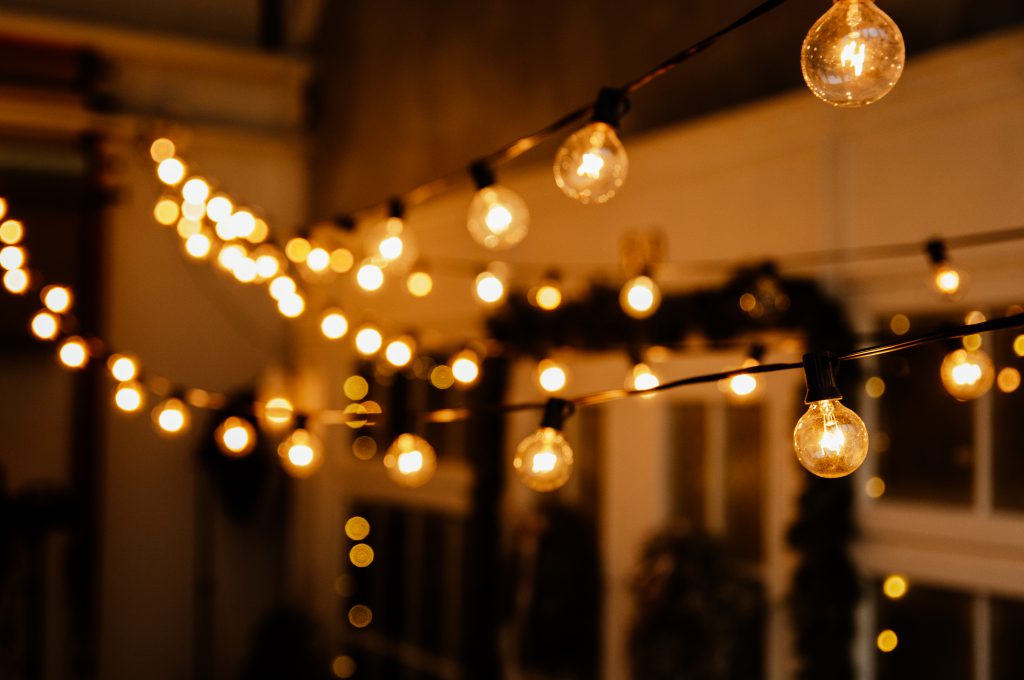
We told you these would get progressively more challenging! So here it is…
Ingredients: Metal bucket, concrete or soil, tall poles or sturdy sticks, a string of fairy lights, hooks or nails.
- You’ve got a few options when it comes to planting the posts, so we’ll cover both ways of doing it…
- You can line your tin bucket with a heavy-duty plastic bin bag, then fill it with concrete. This will allow you to remove the bucket and creates a solid base for each post, meaning you can reuse a bucket for each.
- Alternatively, if mixing concrete is bit of a stretch, you can simply use soil to anchor down your posts and use one bucket to hold each pole.
- Cut your poles or branches to equal length. Then fix hooks or hammer nails to the ‘top’ end of each post. Pick whichever end you want to be visible.
- Plant your poles into the concrete pots of soil, whichever you chose, and wait for them to set.
- Once your concrete has set or you’re happy with the fixture and weight of the soil, you can start to place your potted poles in your chosen locations. Make sure their spacing is within the reach of the length of your lights!
- Finally, it’s time to string your lights across the polls using the hooks or nails at the top. We think Edison bulbs work best – giving you great illumination at night and even look pretty during the day!
- Enjoy.
This is a totally beautiful way to transform your outdoor spaces this summer. It takes a fair bit of effort, but in our opinion, the results are more than worth it! We’d recommend using strings of solar lights for this one, and larger Edison-style bulbs will give you maximum glow and that Scandinavian kinda cool.
So, feeling ready to give some of these a go? We’d love to know how you get on and can’t wait to see some of your creative efforts! Tag us on Facebook or Instagram with your work-in-progress pics and of course your fantastic finished pieces. We’re SO ready for summer now.